How to Install a Backup Battery (External Battery Pack)
Installing a backup battery is a straightforward process that ensures you have an extra power source when needed. Whether you're upgrading your system or replacing an old battery, following the correct steps will help you complete the installation efficiently. In this guide, we'll walk you through the process step by step to ensure a secure and proper setup.
Step 1: Connect the Battery Wire
Open the wire board and carefully disconnect the red wire from the silver current device. Then, connect the red wire to the black dual-head current device, ensuring a secure connection.

Step 2: Attach the Backplate and Connect the Wiring
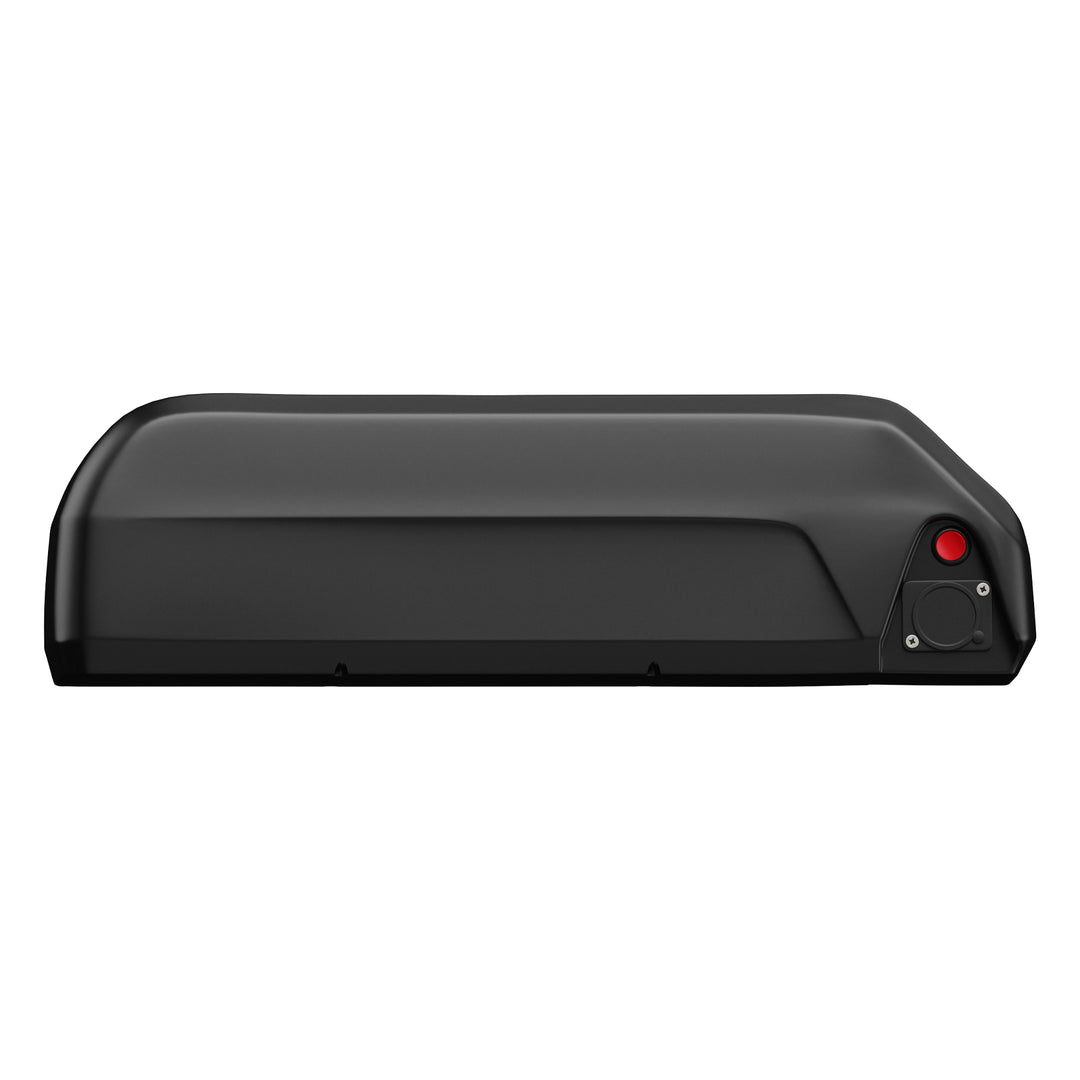
Remove the seat and position the backup battery’s backplate onto the frame. Secure it using the three matching screws. Next, route the current wire from the backup battery through the hole at the bottom of the frame and connect it to the black double-ended current unit.

Step 3: Insert the Battery and Test
Align the backup battery with the pin and insert it securely. Press the battery button to check its functionality—a lit battery indicates normal operation, with green showing the current battery level. Once confirmed, reattach the seat to complete the installation.

Conclusion
By following these simple steps, you can successfully install a backup battery and ensure your system remains powered when needed. Always double-check your connections and test the battery before finalizing the installation. If you encounter any issues, refer to the user manual or consult a professional. Now you're all set—enjoy your backup power with confidence!


