


How to Inflate Your Electric Bike Tires: A Step-by-Step Guide
All electric bikes, like regular bikes, need to inflate their tires when they are low on air pressure.Keeping your electric bike tires properly inflated is crucial for a smooth and safe ride. Whether you're a seasoned e-biker or new to the scene, this guide will walk you through the process of inflating your electric bike tires. Let’s dive in!
Why Proper Tire Inflation Matters
Before we get into the steps, it's important to understand why tire inflation is so crucial:
- Safety: Properly inflated tires provide better grip and control.
- Performance: Correct tire pressure ensures a smoother ride and better efficiency.
- Longevity: Well-maintained tires last longer and are less prone to damage.
Step-by-Step Guide to Inflating Your Electric Bike Tires
Step 1: Gather Your Tools
You'll need:
- A quality bike pump
- A pressure gauge (if your pump doesn’t have one)
- Your electric bike’s tire pressure recommendations (found in the manual or on the tire sidewall)
Step 2: Check the Recommended Tire Pressure
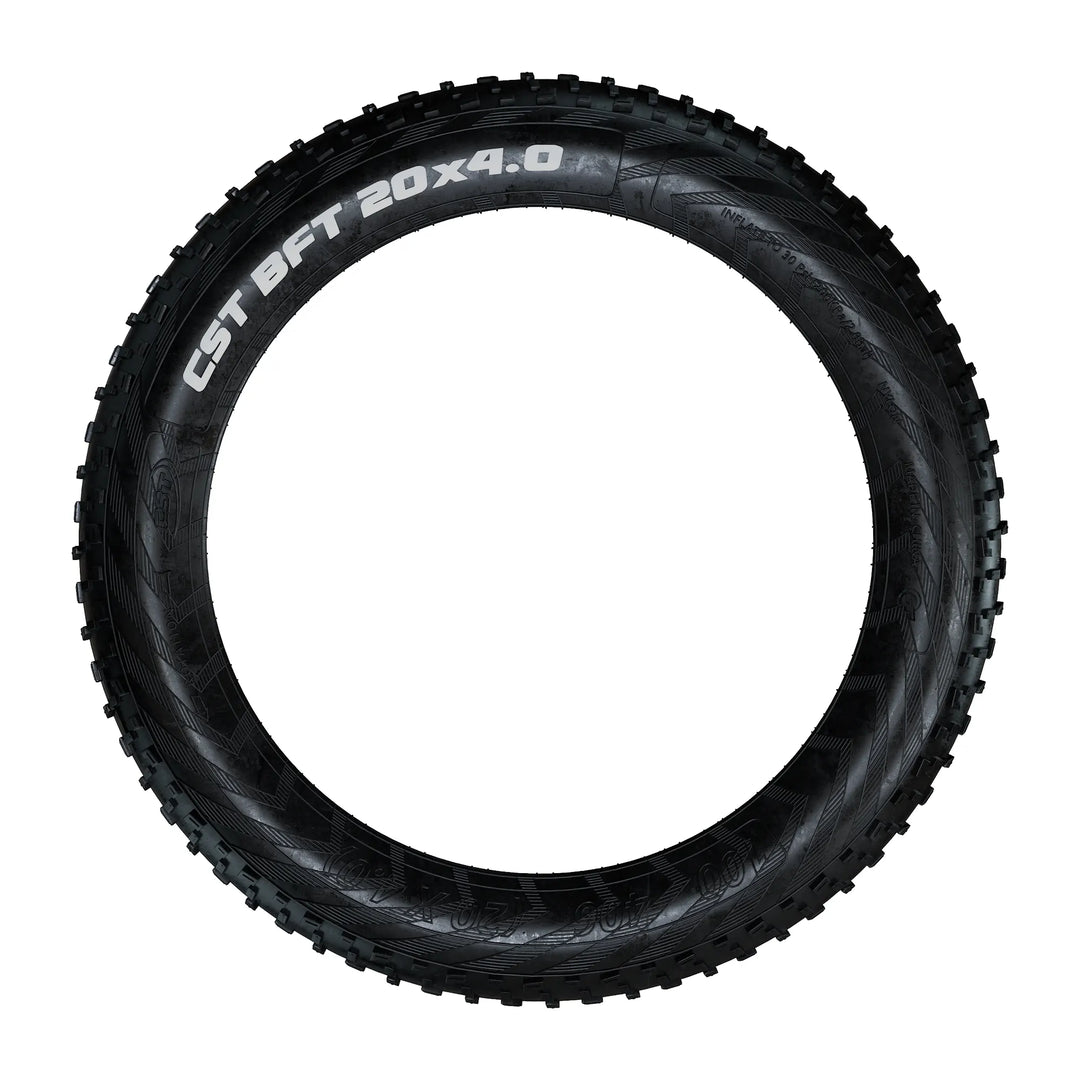
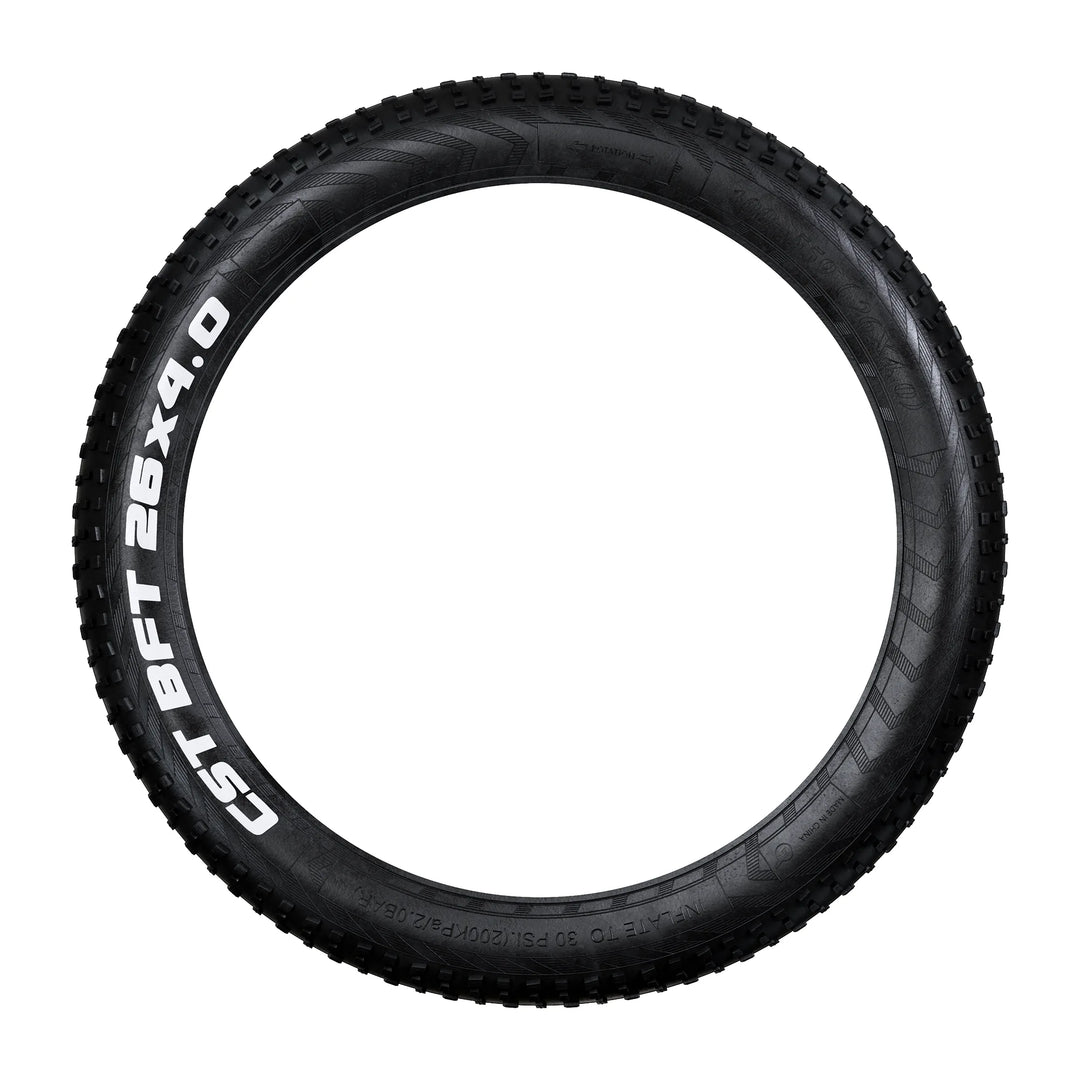
Look on the sidewall of your tires for the recommended PSI (pounds per square inch). This information is also usually found in your bike’s user manual. Ensuring you know the correct PSI is essential for avoiding over or under-inflation.
Step 3: Remove the Valve Cap
Locate the valve on your tire. There are two common types of valves:
-
Schrader Valve: The same type found on car tires.

-
Presta Valve: A narrower, often found on road bikes. If your bike has Presta valves, you’ll need to unscrew the small knurled nut at the top before you can pump air in.


Step 4: Attach the Pump
- For a Schrader valve, simply press the pump head onto the valve and secure it.
- For a Presta valve, after unscrewing the knurled nut, press the pump head onto the valve and secure it, usually by flipping a lever.
Step 5: Inflate the Tire
- Begin pumping. Keep an eye on the gauge to ensure you’re adding the correct amount of air.
- If your pump has a gauge, you’ll see the pressure rising as you pump. If not, periodically check the pressure with a separate gauge.
Step 6: Check the Pressure
- Stop pumping occasionally to check the pressure. Ensure it matches the recommended PSI.
- For Schrader valves, use the pressure gauge directly.
- For Presta valves, close the knurled nut first, then check the pressure if using a separate gauge.
Step 7: Secure the Valve and Replace the Cap
Once your tire is inflated to the correct pressure:
- Remove the pump head.
- For Presta valves, screw the knurled nut back down.
- Replace the valve cap on either type.
Step 8: Repeat for the Other Tire
Don’t forget to repeat the process for your rear tire!
Tips for Maintaining Tire Pressure
- Regular Checks: Check your tire pressure at least once a month, or before long rides.
- Weather Considerations: Tire pressure can fluctuate with temperature changes, so check more frequently in extreme weather.
- Carry a Portable Pump: A compact, portable pump can be a lifesaver if you need to adjust pressure on the go.
Conclusion
Keeping your electric bike tires properly inflated is a simple yet essential task that enhances your riding experience and safety. By following these steps, you'll ensure your tires are always in top condition, ready for any adventure. Happy riding!

